Previously, On Account sales were due as soon as they were posted to Xero. But now, you can specify your on account due dates in Retail POS! To get this set up you'll need to add a default due date in Xero (if you don't already have one) and map this in Retail POS in the Xero settings page.
Follow the steps below to get going:
1. Add a Due Date in Xero
If you already have a default due date for sales invoices set in your Xero account you can skip ahead to step 2.
To add a sales invoice due date in Xero:
- Login to your Xero account
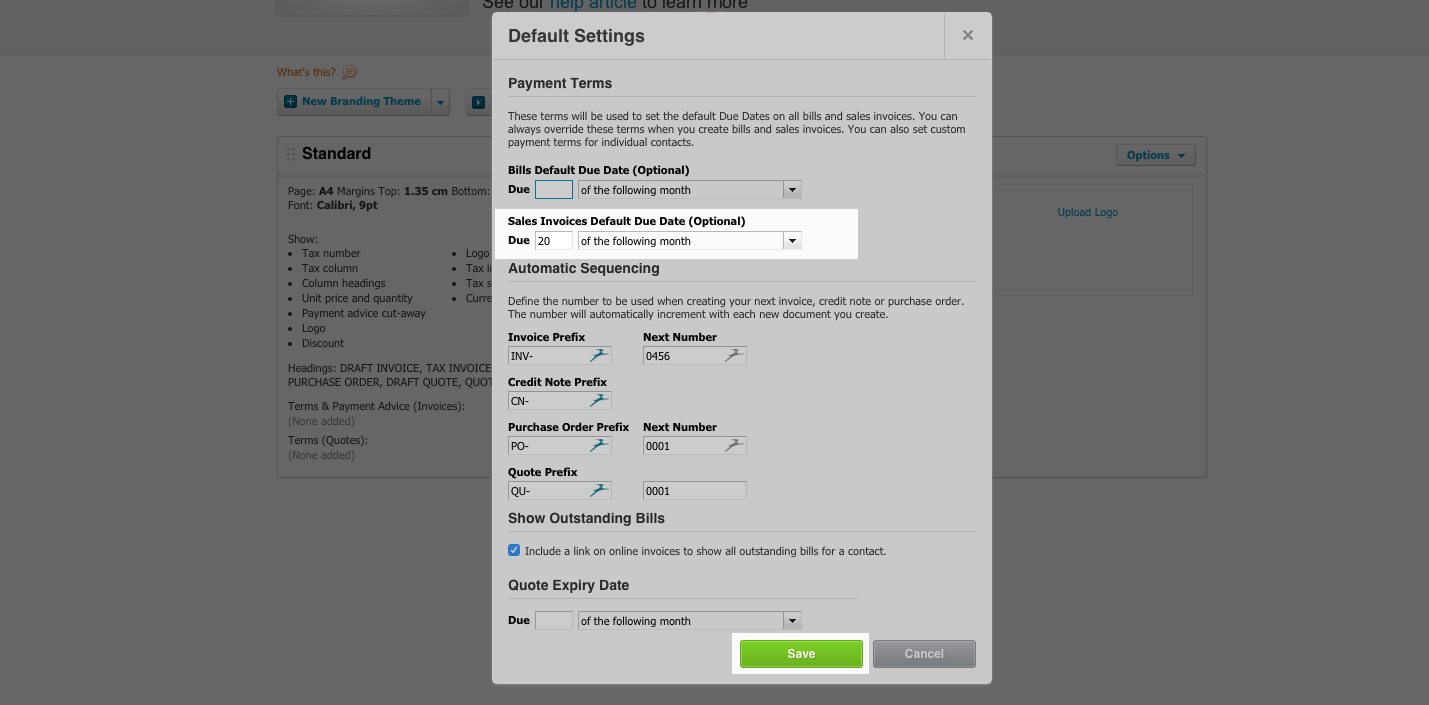
- Navigate to Settings -> Invoice Settings and choose Default Settings
Here you will find the Sales Invoices Default Due Date field, fill this out with your chosen due date and click Save.
Now that you've set this default due date you can make your way back to Retail POS.
2. Map Your Payment Due Date in Retail POS
Once you have a payment due date set in Xero, you will need to map it in your Xero mappings page in Retail POS. To do this:
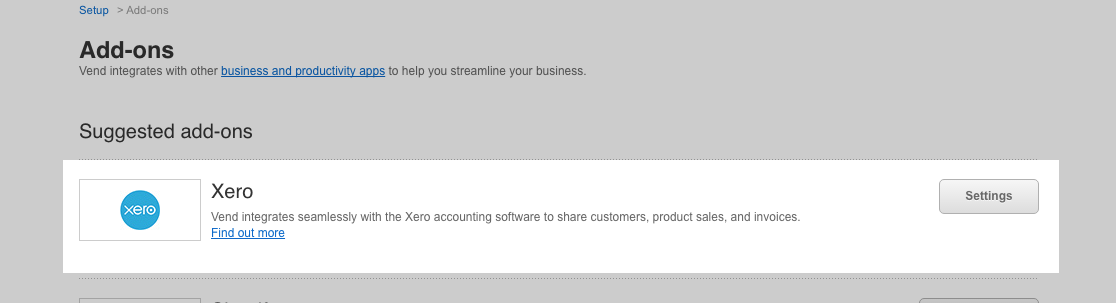
1. Head to your Xero settings page in Retail POS
2. Scroll to the bottom and select Reload Accounts , this is a required step for the invoice due date field to appear.
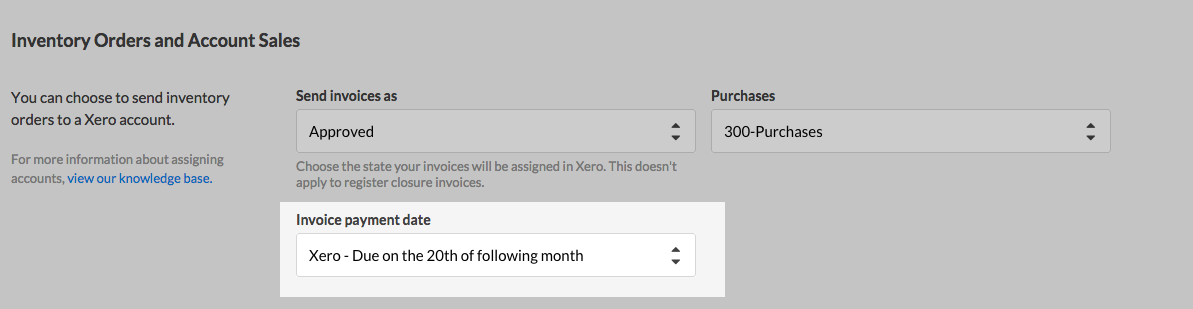
3. Next up, navigate to Inventory Orders and Account Sales section.
4. Underneath Invoice due date , specify your due date. You can pick from either None or your chosen default due date in Xero.
Note: If you don't map this field you will receive an error the next time you process an on-account sale. This will prompt you to navigate to your Xero settings page in Retail POS and map the field.